Are your bees feeling a little under the weather? Perhaps they’re experiencing a tiny wing ache or a buzzing tummyache. Whatever the case may be, it’s essential to have a well-stocked first aid kit for your buzzing buddies. Just like humans, honeybees are prone to accidents, injuries, and occasional minor illnesses. So, why not equip yourself with the knowledge and materials necessary to nurse your precious pollinators back to good health? By creating a specialized first aid kit for your hive, you’ll be prepared to handle any bee-related emergency that comes your way. From band-aids for tiny wings to soothing remedies for stingers, follow our guide to become the neighborhood’s most skilled bee healer in no time!
Table of Contents
- Collecting the Essential Supplies for Your Hive’s First Aid Kit
- Identifying and Treating Common Insect Ailments
- Preparing for Emergency Situations: First Aid Steps for Hive Injuries
- Maintaining a Regular Checkup Schedule to Promote Hive Health
- Creating a Safe and Accessible First Aid Station within Your Beekeeping Area
- Q&A
- The Conclusion
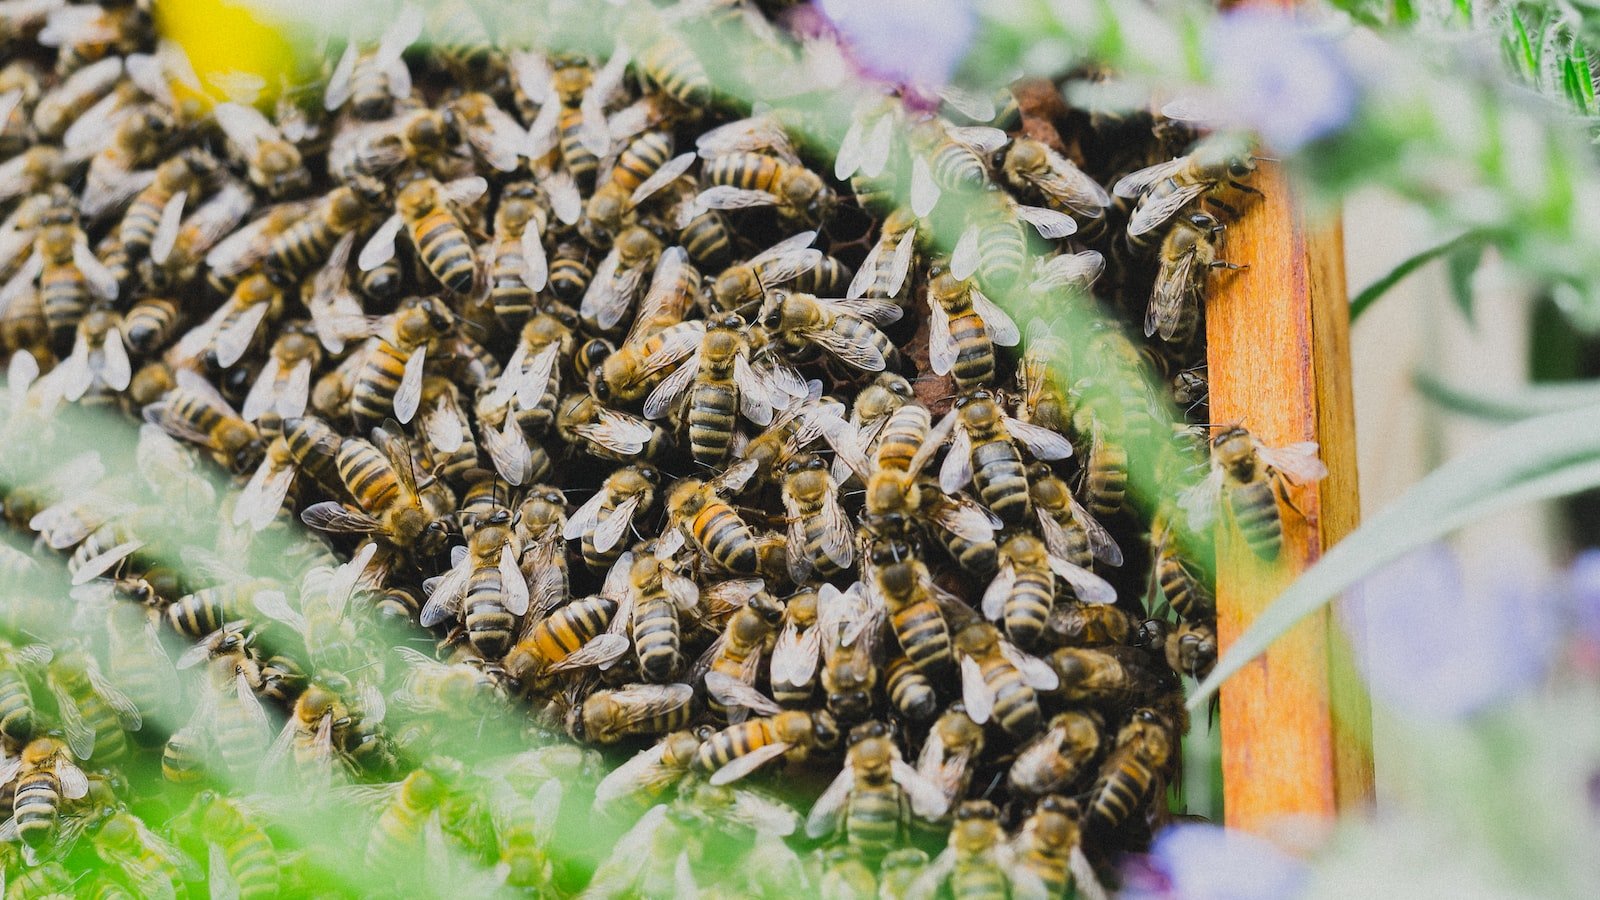
Collecting the Essential Supplies for Your Hive’s First Aid Kit
When it comes to keeping your hive healthy and thriving, having a well-stocked first aid kit is essential. Accidents and health issues can happen unexpectedly, and being prepared can make all the difference in saving your buzzing friends. Here are some must-have supplies to include in your hive’s first aid kit:
- Antibiotics: Ensure you have both topical and internal antibiotics on hand to treat various infections that may arise. These can include ointments, powders, or sprays for external wounds, as well as treatment options for internal ailments.
- Antihistamines: Just like humans, bees can experience allergic reactions. Having antihistamines available can help alleviate symptoms and reduce the risk of anaphylaxis in case of allergic stings or bites.
- Calming Agents: Bees also experience stress, and certain situations may require calming agents. Consider having options like essential oils or pheromone-based sprays that promote relaxation and reduce aggression in your kit.
- Feeding Alternatives: In cases where bees may have trouble feeding or require additional nourishment, having a variety of feeding alternatives (such as sugar water, pollen patties, or emergency feeders) can be a lifesaver.
- Bandages and Dressings: It’s important to have a range of bandages and dressings suited for different types of injuries your bees might encounter. These can include adhesive bandages, gauze pads, and even small splints for wing support.
Remember to regularly check and restock your hive’s first aid kit. Additionally, consider consulting with a local beekeeping association or an experienced beekeeper for further guidance on specific supplies that may be essential for your region or the specific needs of your hive. Being prepared means you can swiftly address any health concerns that arise and keep your busy bees thriving.
Identifying and Treating Common Insect Ailments
Insects are a fascinating part of our natural world, but they can also bring a variety of ailments into our lives. It’s important to be able to identify these ailments and treat them effectively to avoid any discomfort or further complications. Here are some common insect ailments and how to manage them:
- Bee Stings: Bee stings can cause immediate pain, swelling, and redness at the site of the sting. If you or someone you know is stung, remove the stinger by scraping it with a credit card or blunt knife. Apply a cold compress or ice pack to reduce swelling. If there’s severe allergic reaction such as difficulty breathing or swelling of the face, seek medical help immediately.
- Mosquito Bites: Mosquito bites are itchy and can cause irritation. To relieve itching, apply an over-the-counter anti-itch cream or calamine lotion. Avoid scratching to prevent infection. For a natural remedy, dab a bit of diluted tea tree oil on the bite. If you experience a large area of swelling, fever, or signs of infection, consult a healthcare professional.
- Tick Bites: Tick bites can sometimes transmit diseases. If you find a tick attached to your skin, use fine-tipped tweezers to grasp it as close to the skin’s surface as possible. Pull upward with steady, even pressure. Clean the bite area with soap and water, and apply an antiseptic to prevent infection. Monitor the bite site for any symptoms of illness, such as rash, fever, or body aches, and seek medical attention if necessary.
Remember, prevention is always better than treatment. When spending time outdoors, use insect repellents, wear protective clothing, and avoid known habitats of insects. By being proactive, you can minimize the chances of encountering these common insect ailments and enjoy the great outdoors to the fullest.

Preparing for Emergency Situations: First Aid Steps for Hive Injuries
In the event of an emergency involving hive injuries, it is essential to be well-prepared and knowledgeable about the appropriate first aid steps to take. These steps will not only ensure the safety of the affected individual but also help alleviate any immediate pain or discomfort. Below are some essential guidelines to follow:
- Assess the situation: Before providing any first aid, it is crucial to evaluate the severity of the hive injuries. Examine the affected area and identify the extent of the reaction. If there are signs of severe allergic reactions such as difficulty breathing, chest tightness, or swelling of the face and throat, seek immediate medical assistance.
- Remove stingers: If there are visible stingers left in the skin, gently scrape them away using a credit card or any flat-edged object. Do not squeeze or use tweezers as it may inject more venom into the wound and worsen the reaction.
- Clean the area: Wash the affected area with mild soap and water to prevent infection. Pat the area dry with a clean towel or cloth.
- Apply cold compress: To reduce swelling and alleviate pain, apply a cold compress or ice pack wrapped in a clean cloth to the hive injuries. Keep it in place for 10-15 minutes, making sure to take short breaks in between if needed.
- Use over-the-counter creams or ointments: Applying antihistamine creams or ointments can help relieve itching and reduce inflammation. Follow the instructions on the packaging and consult a pharmacist if necessary.
- Monitor for signs of infection: While most hive injuries heal without complications, it is essential to monitor the affected area for any signs of infection, such as increased redness, warmth, pus, or worsening pain. If any of these symptoms occur, seek medical attention immediately.
- Keep antihistamines and emergency contacts handy: It is prudent to have antihistamine medication nearby in case of future hive injuries. Also, ensure you have emergency contact information readily available for medical professionals or poison control centers.
By following these first aid steps, you can effectively manage hive injuries during an emergency situation. However, in the case of severe reactions or uncertainty, always prioritize seeking professional medical assistance.
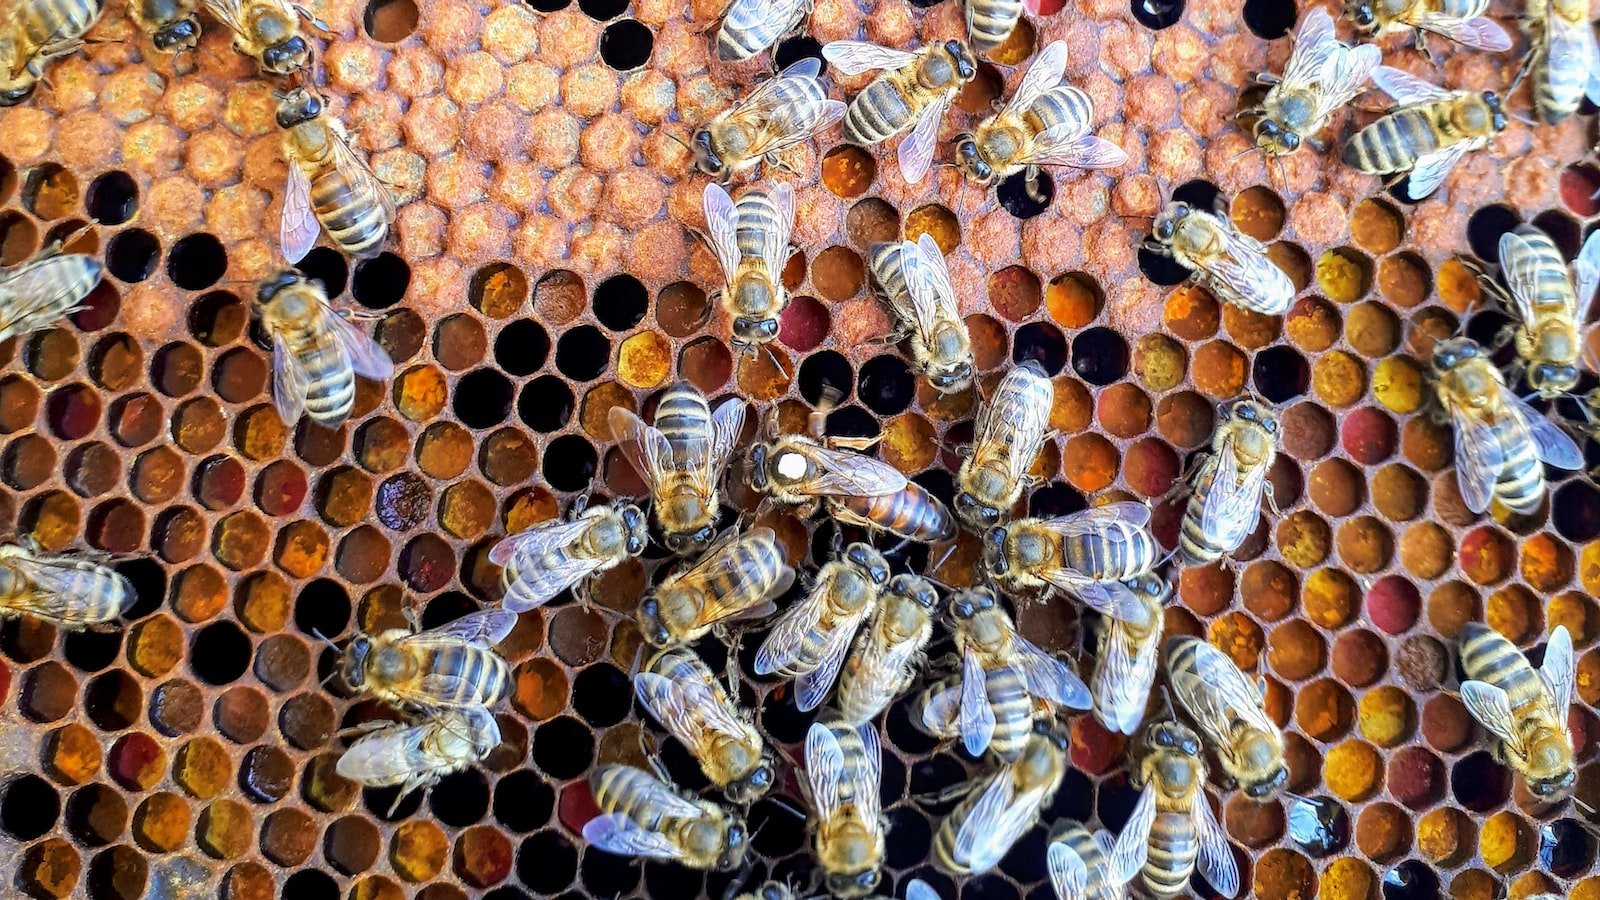
Maintaining a Regular Checkup Schedule to Promote Hive Health
Regular checkups are essential for maintaining the overall health and productivity of your hive. By incorporating a consistent checkup schedule, you can identify potential issues early on and take appropriate measures to ensure a thriving and prosperous hive. Here are a few key points to consider when establishing and adhering to a checkup routine:
1. **Checklist of Vital Areas**: Create a checklist to cover all essential aspects in your hive inspection. This may include examining the hive’s population, brood patterns, honey stores, and overall cleanliness. Ensure that you inspect each section thoroughly to spot any signs of disease or pests.
2. **Maintaining Proper Nutrition**: Adequate nutrition is crucial for a hive’s well-being. During checkups, closely monitor the quantity and quality of pollen and nectar available to your bees. It’s also important to assess the colony’s food storage to prevent starvation during colder months.
3. **Addressing Maintenance**: Regular hive maintenance is necessary to keep your bees happy and healthy. During checkups, keep an eye out for damaged or deteriorating equipment, such as worn-out frames or leaking roofs. Addressing maintenance needs promptly can prevent potential issues down the line.
4. **Monitoring Mite Infestations**: Varroa mites are a common threat to honeybee colonies. Conduct routine mite checks using specialized tools and treatments if necessary. Keeping mite populations in check will help maintain a robust hive population.
5. **Record-Keeping**: Lastly, maintain meticulous records of each checkup session. This will enable you to track the progress and health of your hive over time, as well as identify trends or recurring issues. Consistent record-keeping ensures a comprehensive understanding of your hive’s health and allows for timely intervention.
By adhering to a regular checkup schedule, you are taking an active role in promoting hive health. The well-being of your bees is vital for their productivity and honey production. So, prioritize regular hive inspections to catch any potential problems and ensure a thriving, buzzing hive.
Creating a Safe and Accessible First Aid Station within Your Beekeeping Area
Maintaining a safe and accessible first aid station is crucial when it comes to beekeeping. It not only ensures the well-being of beekeepers but also promotes a responsible and organized approach to handling potential emergencies. To establish a reliable first aid station, consider the following tips:
1. Location: Choose a central location within your beekeeping area, easily accessible to all members. Ensure it is well-lit, clearly marked, and protected from the elements to prevent contamination of supplies.
2. Essential Supplies: Stock your first aid station with a comprehensive range of supplies tailored specifically to beekeeping-related injuries. Include items like sterile dressings, adhesive bandages, antiseptic, sting relief wipes, and protective gloves. Keep an updated inventory to ensure immediate replenishment when needed.
3. Emergency Contact Information: Display a list of important emergency contacts, including local hospitals, poison control, and other relevant authorities. Keep it clearly visible and regularly updated to ensure accurate and prompt assistance during critical situations.
4. Training and Education: Encourage all beekeepers to receive basic first aid and emergency response training. This equips them with the necessary knowledge and skills to provide immediate assistance before professional medical help arrives.
Remember, prevention is key. Regularly inspect your beekeeping area for potential hazards, such as loose wires or slippery surfaces, and address them promptly. By prioritizing safety and accessibility, you create an environment where beekeepers can work confidently and respond effectively to emergencies.
Q&A
How do I create a first aid kit for my hive?
Creating a first aid kit for your hive is essential to ensure the health and well-being of your bees. Start by gathering supplies such as smoker fuel, hive tools, beekeeper gloves, antiseptic solution, bandages, tweezers, and a bee sting kit.
Why is it important to have a first aid kit for my hive?
Having a first aid kit for your hive allows you to promptly address any potential issues or injuries that may arise. It enables you to provide immediate care and support for your bees, minimizing the risk of complications and promoting overall hive health.
What should I include in my hive’s first aid kit?
Your hive’s first aid kit should consist of essential supplies such as smoker fuel to calm the bees during inspections, hive tools to assist in hive maintenance, beekeeper gloves for protection, antiseptic solution to clean wounds, bandages for covering injuries, tweezers to remove stingers, and a bee sting kit for emergency bee sting reactions.
How often should I restock my hive’s first aid kit?
It’s important to regularly check and restock your hive’s first aid kit to ensure it is always ready for use. Check the expiration dates of any medications or ointments, replace used supplies, and replenish any items that are running low at least once a year.
Should I include any specific medications in my hive’s first aid kit?
While it’s best to consult with a local beekeeping expert, you may consider including medications such as antibiotics or honeybee health supplements in your hive’s first aid kit. These can help address specific issues or boost the overall well-being of your hive when used as directed.
Are there any precautions I should take when using the first aid kit?
When using the first aid kit, it’s important to approach your hive with caution and wear protective gear to prevent bee stings. Follow the instructions for each item carefully, and if in doubt, seek guidance from an experienced beekeeper or consult a beekeeping resource to ensure safe and effective use.
The Conclusion
As you embark on a journey to become the ultimate beekeeper, your dedication and care for your buzzing companions must never waver. As with any living creature, it is inevitable that our little striped friends may encounter health troubles. Fear not, for you now possess the secret ingredient to ensure their wellbeing – a well-equipped first aid kit for your hive.
Armed with the knowledge of hive health essentials, you have stepped into the realm of bee-caretaking superheroes. With surgical precision, you have curated a collection of tools and remedies that will prove to be the lifesavers for your miniature honey-producing army.
Within the vibrant depths of your first aid kit, delicate vials of bee elixirs await their call to action. The mighty propolis, a sticky fortification created by the bees themselves, guards against unwanted invaders and nurtures the superorganisms within the hive. Harnessing its power, you hold the key to sealing wounds with nature’s own healing glue.
Stowed away among the wonders of your kit, you discover the miraculous nectar of nature—honey. Not only a sweet delight for our taste buds, but also a healing balm for your buzzing companions. Its golden therapeutic properties hold a remedy for their ailments, from disinfecting wounds to soothing their little hearts.
But wait! The vital tools of your kit are not forgotten. With the grace of a bee whisperer, you wield a sharp scalpel when the need arises, ever ready to delicately trim away damaged wings and remove obstacles. You handle tweezers as if guiding a tiny orchestra, extracting pesky stingers without causing further harm. And let us not forget the gentle ease with which you administer the liquid gold of your beekeeper’s medicine—smoke.
Embrace your role as the protector, the caretaker, and the unsung hero. As your bees flourish under your watchful eye, they will rise stronger and more resilient. Your first aid kit for the hive stands as a symbol of your commitment and love for these incredible creatures. Remember, it is not the size of the kit that counts, but the power within it. So, fellow beekeeper, continue this noble quest, with hope in your heart and your first aid kit close at hand. May your hive thrive and buzz with vitality for generations to come.
As an affiliate, my content may feature links to products I personally use and recommend. By taking action, like subscribing or making a purchase, you’ll be supporting my work and fueling my taco cravings at the same time. Win-win, right?
Want to read more? Check out our Affiliate Disclosure page.