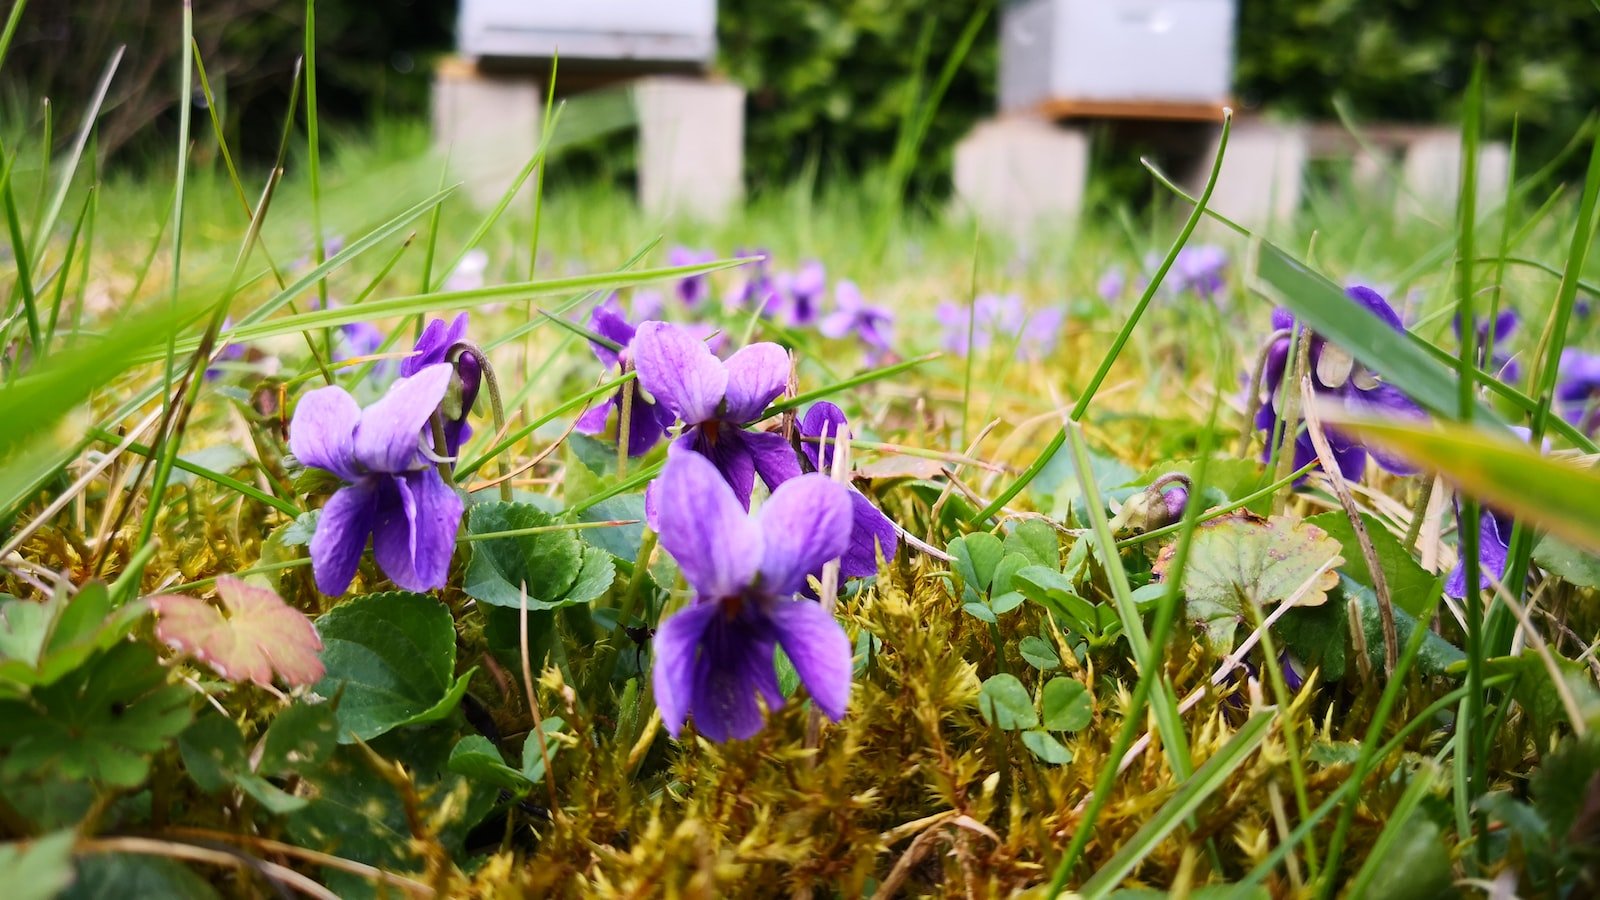
In the bustling heart of the concrete jungle, where the symphony of car horns and hurried footsteps drowns out the gentle hum of nature, an unexpected harmony is buzzing to life. Welcome to the world of urban beekeeping—a groundbreaking endeavor that invites bees to thrive alongside humans in the most unlikely of places. Have you ever wondered how to create your own buzzing sanctuary, right within the confines of your city dwelling? Look no further, as we unveil a step-by-step guide to crafting your very own DIY urban beehive—unleashing a captivating tale of triumph for both the bees and the urban dwellers who dare to venture into the mesmerizing world of backyard beekeeping.
Table of Contents
- Creating a Buzz: Crafting Your Own Urban Beehive
- Building Materials: Selecting the Perfect Components for a Successful Beehive
- Constructing the Beehive: Step-by-Step Instructions for Assembling Your DIY Urban Sanctuary
- Beekeeping Essentials: Tips and Tricks for Maintaining a Healthy Hive
- Harvesting Honey: A Rewarding Journey from Beehive to Honey Jar
- Q&A
- Concluding Remarks

Creating a Buzz: Crafting Your Own Urban Beehive
Urban beekeeping is a fascinating and rewarding hobby that not only helps the environment but also produces delicious, local honey. With the growing concern for the decline in bee populations, more and more people are taking up the art of crafting their own urban beehives. Whether you have a small backyard or a balcony, it is possible to create a buzzing haven for these mesmerizing creatures.
When it comes to crafting your own urban beehive, there are various options to consider. One popular choice is the top bar hive, which is easy to manage and requires minimal maintenance. This type of hive allows the bees to build natural comb, promoting healthier colonies. Additionally, it allows for easy honey extraction, making it a perfect choice for beginners.
To create a buzz-worthy urban beehive, it’s essential to consider the location and surroundings. Choose a spot that receives plenty of sunlight and is sheltered from strong winds. Bees also thrive in areas with diverse and abundant floral resources, so having a variety of flowers and plants nearby is crucial. Avoid placing the beehive close to areas with high foot traffic to ensure the safety of both the bees and your neighbors.
Maintaining proper hygiene and ensuring the health of your hive is vital. Regular inspections of the hive and early detection of any signs of diseases or pests are crucial for the well-being of the colony. Research and educate yourself on best practices and beekeeping techniques to ensure a successful and sustainable urban beekeeping experience.
- Choose the right hive design that suits your space and needs.
- Select a suitable location with adequate sunlight and floral resources.
- Regularly inspect the hive for any signs of disease or pest infestation.
- Stay informed and up-to-date with beekeeping techniques for best results.
Beekeeping in an urban setting can be an exciting and fulfilling endeavor. By crafting your own urban beehive, you not only contribute to the conservation of these remarkable creatures but also have the opportunity to enjoy the sweet rewards of your own harvest. So, grab your tools, put on your beekeeping suit, and start creating a buzz with your very own urban beehive!

Building Materials: Selecting the Perfect Components for a Successful Beehive
When it comes to building a successful beehive, selecting the perfect components is essential for the well-being and productivity of the colony. Each component plays a crucial role in providing a safe and comfortable environment for the bees to thrive. Here are some key building materials to consider:
- Hive Body: The primary structure of the beehive, the hive body, or brood box, serves as the main living area for the colony. It should be made of durable and weather-resistant materials such as pine, cedar, or polystyrene. Ensure the hive body has proper insulation to regulate temperature and protect the bees from external elements.
- Frames: Frames are essential for supporting the beeswax comb and housing the brood and honey. Choose frames made of food-grade plastic, wood, or a combination of both. These frames should have a wax foundation, which provides the bees with a guide for building their comb.
- Roof: An effective beehive roof is essential for protecting the colony from rain, excess heat, and cold temperatures. Opt for a cover that is sturdy and waterproof, such as galvanized steel, copper, or a durable plastic material. A well-ventilated roof with proper overhangs will prevent moisture build-up and ensure proper airflow.
- Bottom Board: The bottom board serves as the base of the beehive. It should be sturdy and provide ventilation to prevent condensation and excess moisture inside the hive. Consider using a solid bottom board with an entrance reducer to protect against intruders.
- Paint and Protective Coatings: Applying paint or protective coatings to the exterior of the beehive can help prolong its lifespan and protect the wood from weathering and decay. Choose non-toxic paints or coatings specifically formulated for beehives to ensure the health and safety of the colony.
Remember, a well-constructed beehive with the right components not only ensures the bees’ comfort and productivity but also facilitates beekeepers in managing the hive efficiently. With the perfect building materials, you’re on your way to creating a thriving beekeeping adventure!

Constructing the Beehive: Step-by-Step Instructions for Assembling Your DIY Urban Sanctuary
Step-by-Step Instructions for Assembling Your DIY Urban Sanctuary
Welcome to the exciting world of beekeeping! Building your very own beehive is not only a rewarding experience but also a crucial step in creating an urban sanctuary for these incredible insects. Follow these step-by-step instructions and before you know it, you’ll be providing a safe haven for your buzzing companions.
Step 1: Gather your materials
Before diving into construction, make sure you have all the necessary materials at hand. You’ll need a hive stand, bottom board, brood box, honey supers, frames, foundation sheets, entrance reducer, inner cover, and an outer cover. Familiarize yourself with the diverse shapes and sizes of these components, ensuring you have exactly what you need before embarking on your journey.
Step 2: Assemble the bottom board and hive stand
Begin by attaching the bottom board to your hive stand. Secure it firmly, ensuring stability and proper alignment. This sturdy foundation will provide a solid base for the rest of the beehive.
Step 3: Construct the brood box
Take the brood box and carefully assemble its components, sliding the frames and foundation sheets into place. Ensure they are snugly fit and even, allowing for easy inspection and maintenance. Remember, this is where the queen and bees will raise their young, so precision is key.
Step 4: Add the honey supers and inner cover
Once the brood box is complete, proceed to stack the honey supers on top. These will house the bees’ honey production. Secure the inner cover on top, providing ventilation and insulation for the colony. This cover will act as a barrier between the bees and the outer cover, preventing condensation and regulating temperature.
Step 5: Final touches
Finish your beehive assembly by placing the outer cover on top, protecting the hive from the elements. Ensure there are no gaps or openings that may compromise the hive’s integrity. Now, with your DIY urban sanctuary complete, it’s time to welcome your new pollinator friends and marvel at the wonders of the beehive you’ve constructed.
Remember, beekeeping requires knowledge, patience, and respect for these incredible creatures. Take the time to understand their needs and provide a safe environment. Enjoy the journey and embrace the awe-inspiring connection with nature that beekeeping brings.
Beekeeping Essentials: Tips and Tricks for Maintaining a Healthy Hive
Being a beekeeper comes with its own set of challenges, but with the right knowledge and a few tricks up your sleeve, you can ensure the health and productivity of your hive. Here are some essential tips to help you maintain a happy and thriving bee community:
- Regular hive inspections: Conduct frequent inspections to check for signs of disease, infestation, or any abnormalities. Take note of the brood pattern, honey stores, and overall population. This will help you catch issues early and take necessary actions.
- Ensure proper ventilation: Bees require good airflow to regulate temperature and reduce moisture buildup in the hive. Place an entrance reducer and have upper ventilation to keep the hive well-ventilated all year round.
- Provide ample forage: A diverse and abundant source of pollen and nectar is essential for the bees’ nutrition and overall health. Plant a variety of flowering plants, trees, and shrubs in your vicinity, ensuring a continuous supply of food throughout the year.
- Maintain cleanliness: A clean hive promotes a healthier colony. Regularly remove debris, dead bees, and excess propolis. Ensure that your tools and equipment are clean to prevent the spread of diseases and parasites.
- Monitor Varroa mite levels: These notorious mites can decimate a hive if left unchecked. Implement an integrated pest management plan to monitor and control their population. Treatments such as organic acids or essential oils can help keep the mite levels in check.
- Learn from experienced beekeepers: Connect with local beekeeping associations or mentors to tap into their knowledge and experience. Attend workshops or join online forums to exchange ideas, ask questions, and stay up to date with the latest beekeeping practices.
By implementing these tips and tricks, you’ll be well on your way to maintaining a healthy hive and reaping the sweet rewards of beekeeping. Remember, a little care and attention go a long way in nurturing your buzzing friends!
Harvesting Honey: A Rewarding Journey from Beehive to Honey Jar
As you embark on the journey of harvesting honey, you enter a world buzzing with excitement and sweet rewards. From the moment you approach the bustling beehive, the air is filled with the unmistakable aroma of nectar and beeswax.
With your beekeeper suit on, you carefully open the hive, revealing a mesmerizing network of honeycombs. Gently, you detach the frames loaded with golden goodness, each one a work of art crafted by the diligent honeybees. The hum of their wings reminds you of the tireless effort they put into creating this natural treasure.
Back in your honey extraction room, the real magic begins. You uncork the capped honeycombs, allowing the rich, amber liquid to flow freely. The honey cascades into a strainer, where it undergoes a fascinating filtration process, removing any impurities left behind by the bees. Soon, your honey jar starts to fill with liquid gold, ready to delight taste buds with its unparalleled sweetness.
As you savor the fruits of your labor, you can’t help but reflect on the intricate journey of honey production. From the tireless buzz of bees pollinating flowers to the careful harvesting and extraction, you are reminded of the remarkable harmony between nature and human ingenuity. Harvesting honey truly is a rewarding adventure that connects us to the wonder of nature, one jar at a time.
Q&A
1. Can I keep bees in my urban backyard?
Yes, you can! Urban beekeeping is becoming increasingly popular and is a great way to support the bee population and enjoy fresh honey in your city surroundings.
2. Do I need a large space to install a beehive?
No, you don’t need a large space. The DIY urban beehive can be designed to fit even the smallest of urban backyards or balconies, making it a perfect solution for city dwellers.
3. How much time and effort does beekeeping require?
Beekeeping requires regular time and attention, but it doesn’t have to be overwhelming. With proper planning and organization, a few hours a week should suffice to ensure the health and well-being of your urban beehive.
4. Can anyone build their own beehive?
Absolutely! Building your own beehive may seem intimidating, but with our step-by-step guide and a little patience, anyone can create a DIY urban beehive and join the beekeeping community.
5. What materials do I need for the beehive?
You will need basic materials such as wood, nails, glue, and mesh wire. Additionally, you can use recycled or repurposed materials, making the DIY urban beehive an eco-friendly project.
6. Are there any legal or safety requirements for keeping bees in urban areas?
Before starting, it’s crucial to check your local regulations, as certain areas may have restrictions or permit requirements for keeping bees. Safety-wise, wearing protective gear, such as a bee suit and gloves, is essential while interacting with the hive.
7. How do I attract bees to my urban beehive?
You can attract bees by planting a variety of native flowers and providing a water source nearby. Pollinator-friendly plants will not only make your urban space more beautiful but will also entice bees to call your DIY beehive their home.
8. How do I maintain the beehive?
Regular maintenance involves checking for signs of disease, managing honey production, and ensuring the hive has proper ventilation. Periodic inspections and following beekeeping best practices will help keep your urban beehive healthy and thriving.
9. Can I harvest honey from my urban beehive?
Absolutely! Harvesting honey is one of the joys of beekeeping. However, it’s important to leave enough honey for the bees to survive the winter. Following proper techniques, you can enjoy your own delicious urban honey.
10. What benefits do urban beehives offer besides honey production?
Urban beehives serve as valuable pollinators for gardens and contribute to the overall health of the ecosystem. Additionally, they offer an educational opportunity to learn about the importance of bees and sustainable living in urban environments.
Concluding Remarks
In conclusion, embarking on the journey of creating your own DIY urban beehive can be a truly rewarding experience for both you and the honeybees. By following our step-by-step guide, you have learned how to bring a touch of nature into the heart of the city, empowering yourself to become a caretaker of these incredible creatures.
Not only does this project offer a deeper connection with the environment, but it also plays a significant role in the preservation of honeybees, whose population is in decline. By providing them with a safe haven within an urban landscape, we can contribute to the crucial task of pollination, ensuring a thriving ecosystem for us and future generations.
As you embark on your beekeeping adventure, always remember that it is essential to continue learning and staying attuned to the needs of your buzzing companions. Be sure to educate yourself on sustainable practices, connect with local beekeeping communities, and explore opportunities to advocate for environmental awareness.
With each flowering season, you will witness your thriving beehive buzzing with life, witnessing firsthand the fruits of your labor. Watching as these industrious creatures create their golden elixir will not only fill your senses, but also serve as a gentle reminder of the wonders and interconnectedness of the natural world.
So, my fellow urban beekeepers, let us embrace the harmonious coexistence of humans and honeybees, shaping our cities into vibrant sanctuaries for these incredible creatures. Let us continue to spread awareness, enthusiasm, and appreciation for these diligent pollinators, building a future where blooming flowers and sweet honey are forever intertwined in the tapestry of urban life.
As an affiliate, my content may feature links to products I personally use and recommend. By taking action, like subscribing or making a purchase, you’ll be supporting my work and fueling my taco cravings at the same time. Win-win, right?
Want to read more? Check out our Affiliate Disclosure page.